Creating an Element Library
Last updated August 7, 2024
To create a new element library, navigate to 'All libraries' in the left panel.
To add a library for your own organization, click on "My Library" and create a library by selecting "Add New Library."You can then add custom elements, upload elements via excel file, or import elements from another library via the Actions button. To create libraries for your clients, click on "Shared libraries", add a Brand/Client, and follow the same process.
For better understanding please watch this tutorial video.
You can also refer to this step-by-step guide to help you through Element Library creation:
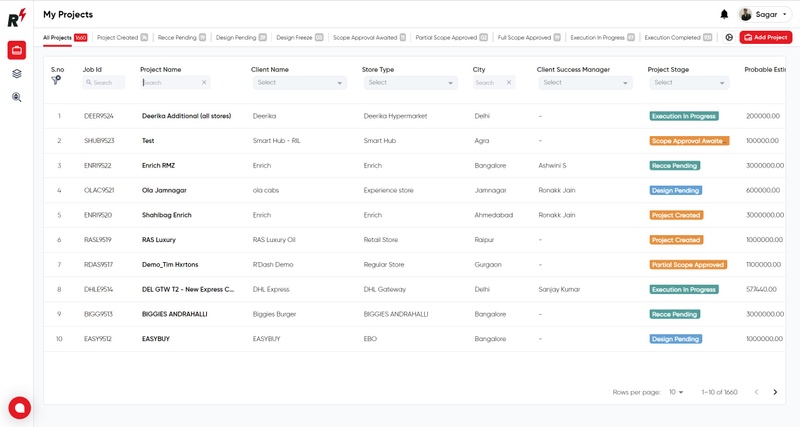
1. By hovering your mouse towards the left, you will be able to click on All Brands > Element Library.
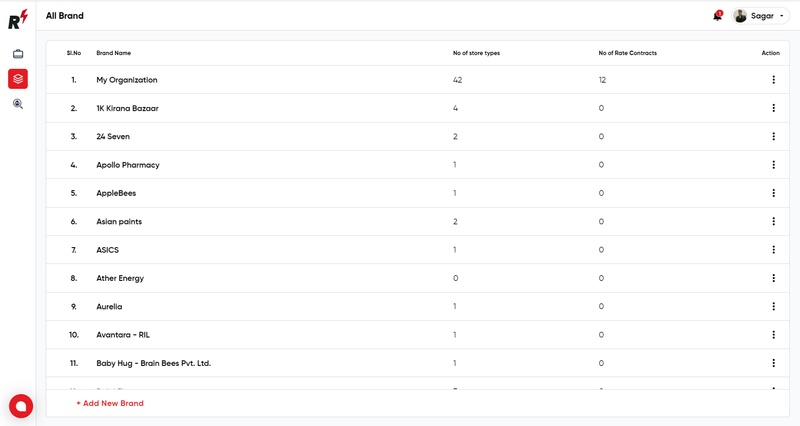
2. Here you will find the list of all clients.
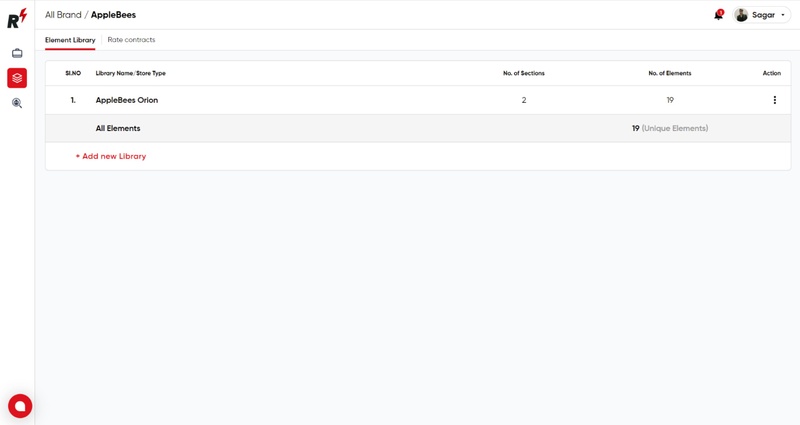
3. Click on your client and add a new Library(if it doesn't already exist)
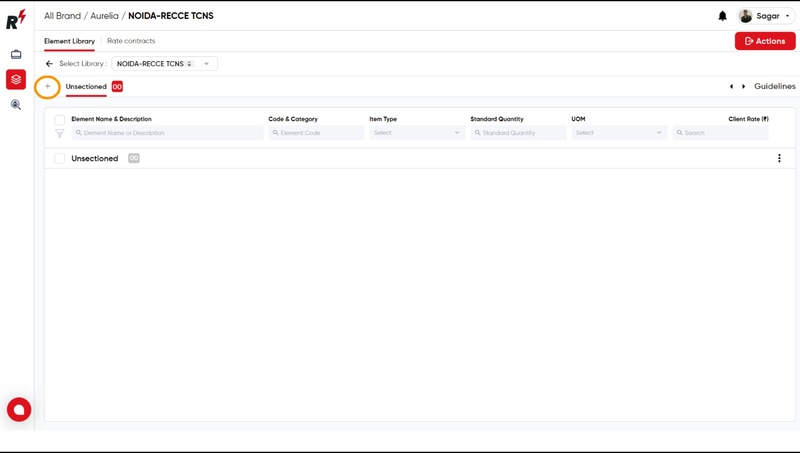
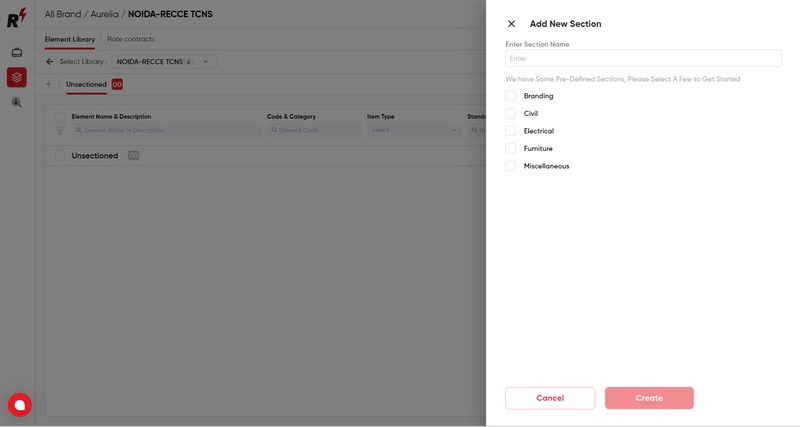
4. Click on the (+) icon to create sections inside your store type.
5. You can create a custom section or choose from a set of default ones we’ve provided below.
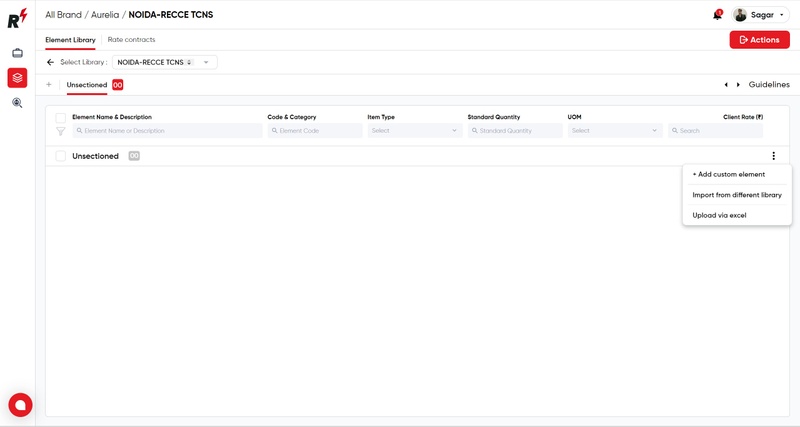
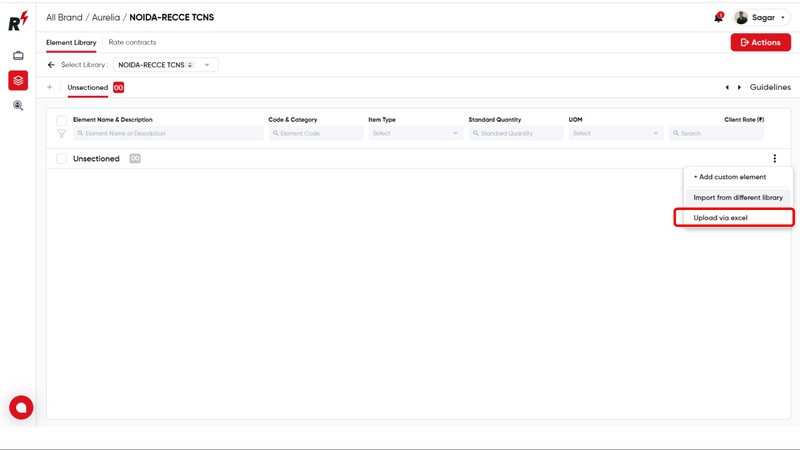
6. There are 3 different methods of adding elements to the Library.
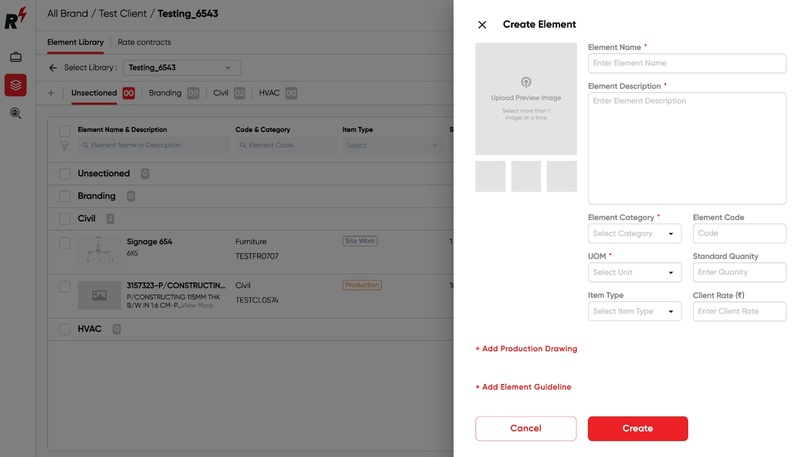
Method 1: +Add Custom Element. After entering the Element details, click on create button.
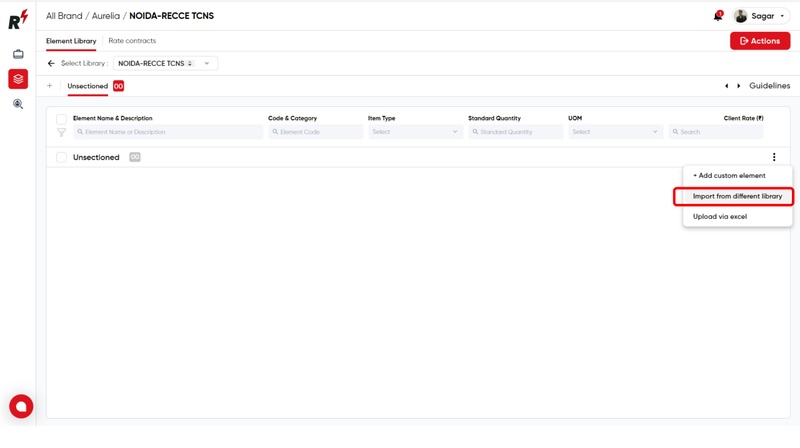
Method 2: Import via different library > Select items from a different store type in the library.
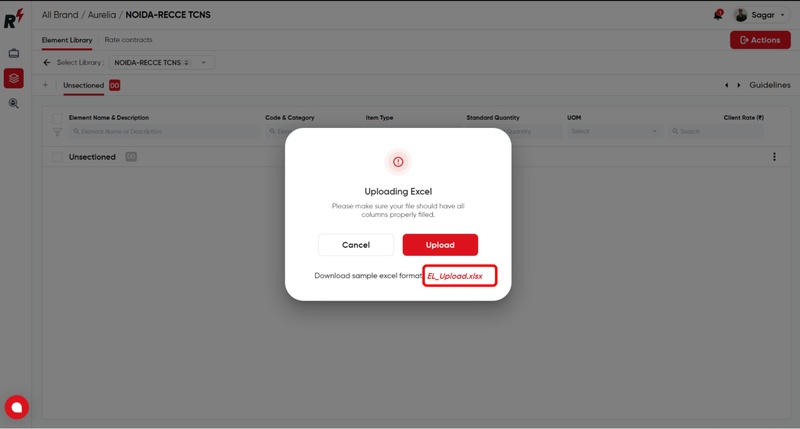
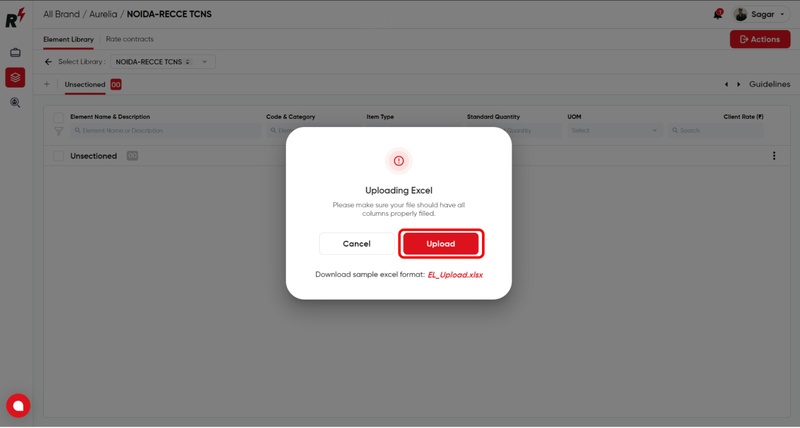
Method 3: Upload via excel > Enter all details in the format.
3A. You can use our sample document to create your own in the same format.
3B. Once all is done, you can upload the file here.
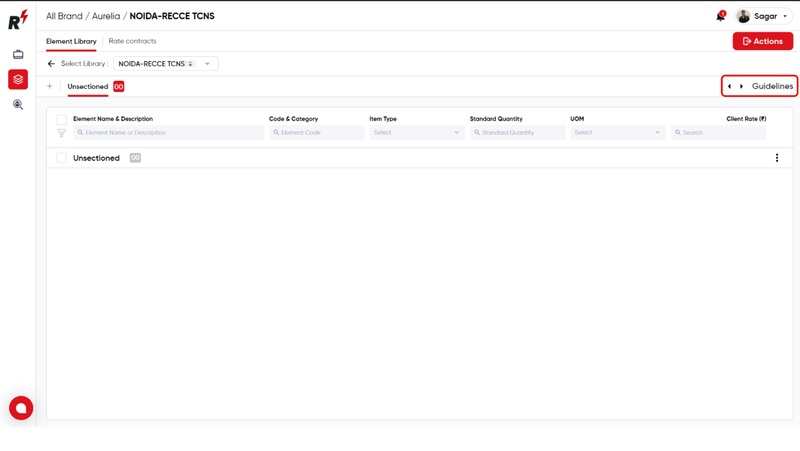
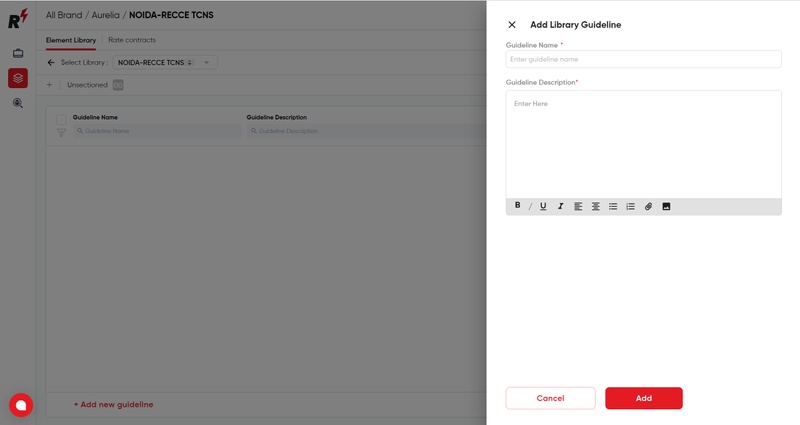
7. You can also add library guidelines by clicking on the Library Guideline icon.
8. Here you can add the description and other details, as you need.
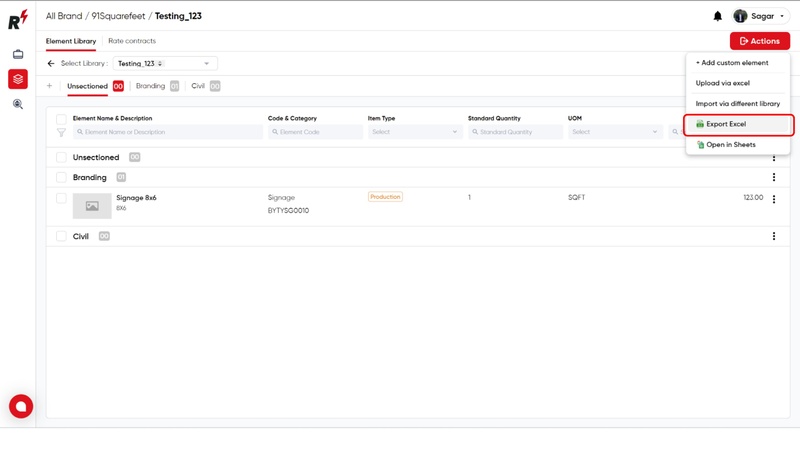
9. To have an offline copy of the same, you can also download an excel.


